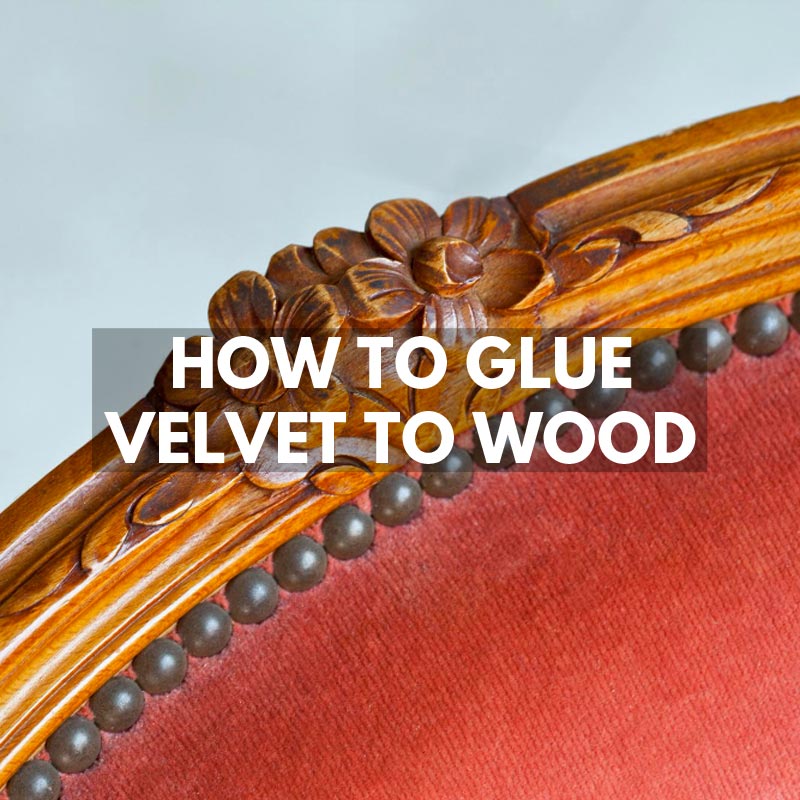
How to Glue Velvet to Wood
In this guide on how to glue velvet to wood,we share the fastest, most efficient way to glue velvet to wood is by using Mod Podge, Titebond, or hot hide glue.
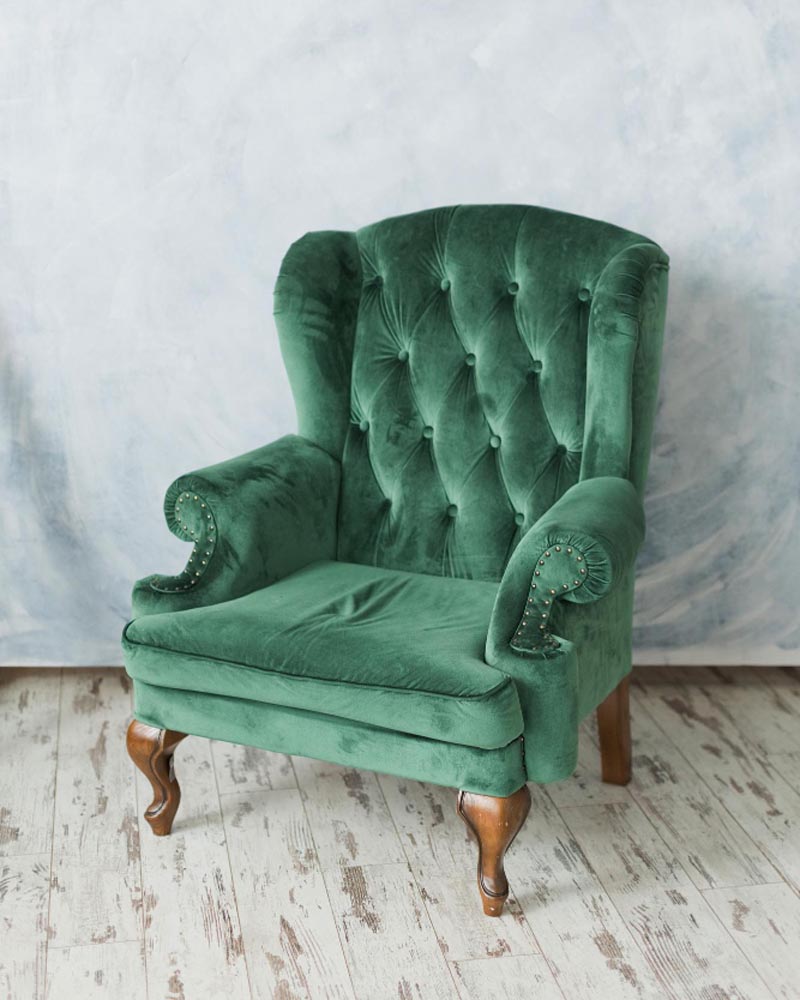
Perhaps you’re working on that antique furniture, a no-scratch jewelry box, or a home decor item, or maybe you’re recreating a brilliantly bejeweled wooden Faberge egg. Knowing how to glue velvet to wood, how to prepare both surfaces, and what type of adhesive to use will ensure a successfully glued surface that will hold up over time.
Fabric placed on wood can come out as beautifully designed pieces of craft. With proper workmanship and care, your glued velvet-to-wood project will withstand the test of time. Here’s how to glue velvet to wood.
Which Glue Should You Use for Velvet to Wood?
Today, the market is awash with all sorts of glues that can be used for different purposes. From epoxies, polyurethane, silicone, superglue, contact cement, hot glue, polyvinyl acetate (PVA), and task-specific adhesives like marine glue, there are just too many options to choose from, and it can be overwhelming, especially for a beginner.
Unfortunately, not all of them will work perfectly when bonding velvet to wood. In fact, some of them might even damage the fabric or the surface of the wood. So, which ones should you use?
Water-Based Adhesives
 with 4-pk Foam Brush Set, Clear")

Water-based adhesives such as Titebond and Mod Podge are usually the best option for gluing velvet to wood because they migrate into the wood and velvet to create a strong bond. They are non-toxic, easy to use, and dry clear, so you don’t have to worry about ruining your project’s look.
Mod Podge, in particular, is super versatile, easy to find, and dries quickly, making it an excellent choice for beginners. When it comes to adhering fabric to wood, Mod Podge scores way above the rest.
Brush a layer of the adhesive onto the wood surface and then neatly place your velvet fabric on top. Use a brayer or your hands to smooth out any wrinkles or bubbles, then leave it to dry for 24 hours. Once dry, you can trim away any excess fabric with a sharp knife or scissors.
Hot Glue

Hot glue is another good option for gluing velvet to wood. It is strong, dries quickly, and is easy to use. The only downside is that it can be a bit messy and it is not as versatile as water-based adhesives. The good old hot hide glue is a good example of hot glue that will create a strong bond between velvet and wood.
Fully dried hide glue packs the same strength as epoxy and synthetic glues, yet it is easier to remove and rework. They are best for repairing antiques as they help preserve and honor traditional workmanship.
Apply a line of heated glue along the edge of the wood surface using a glue gun. Then quickly place your velvet fabric on top and press down firmly. Hold it in place for a few minutes to allow the glue to set, then trim away any excess fabric with a sharp knife or scissors after a 24-hour, full cure period.
Consider using the prepared Titebond’s premixed Genuine Hide Glue if you don’t want to deal with all the mess of heating and mixing the conventional hide glue. Since it can be removed without damage, it is an excellent choice when working on temporary projects or an antique that you want to preserve its value without losing its traditional workmanship.
Synthetic Adhesives

Synthetic adhesives such as epoxy resin, polyurethane, and PVA are also good choices for gluing velvet to wood. They are strong, versatile, and waterproof, making them ideal for both indoor and outdoor projects. They are also durable and won’t cause the fabric to shrink, wrinkle, or change color. Unfortunately, PVA glues are permanent, so they can’t be removed once dry.
Simply apply it to the wood surface with a brush or roller, then place your velvet fabric on top. For best results, use a brayer or your hands to smooth out any wrinkles or bubbles. Then allow air circulation to create a strong bond and give it 24 hours to cure fully.

How to Prepare Velvet and Wood Before Gluing
Material preparation is just as important as choosing the right adhesive and the gluing process itself. If you don’t take the time to clean and sand your surfaces, the bond won’t be as strong, and your project might not turn out the way you want it to.
The first step is to clean the velvet in cool water with a mild detergent and wipe down the wood with a lint-free cloth to remove any dirt, dust, or debris. This will help the adhesive to bond better and create a stronger bond.
The next step is to sand the wood surface with fine-grit sandpaper (180-220). This will help create a rough surface that the adhesive can grip onto. You can skip this step if you’re working with a smooth wood surface. Once your surfaces are clean and sanded, you’re ready to start gluing!
How to Apply Glue to Velvet and Wood
Before applying the glue, ensure that the wood lies on a level surface. This will prevent the fabric from sliding around when you’re trying to glue it down. The next thing to do is to lay out the fabric on the wood, ensuring that it is positioned correctly. Once you’re happy with the placement, it’s time to start applying the adhesive.
If you’re using a water-based adhesive such as Titebond and Mod Podge, apply it to the wood surface with a brush or roller, spreading it evenly over the surface. If you’re using hot glue such as Titebond’s premixed Genuine Hide Glue, you can apply it directly from the bottle and use a plastic piece such as a used credit card to spread it evenly. A synthetic adhesive such as PVA can be applied with a brush, roller, or sprayer.
How to Attach Velvet to Wood
Once you’ve applied the adhesive, it’s time to press the velvet onto the wood. Start at one end and work your way across, using a brayer or your hands to smooth out any wrinkles or bubbles. Ensure that your hands or brayer are squeaky clean and free of any glue to prevent it from sticking on the velvet.
Clamp, tape down, or weigh down the fabric to the wood surface while the adhesive dries. This pressure helps create a strong bond and prevents the fabric from sliding around.
How to Cure Velvet and Wood Glue
Allow the adhesive to dry according to the manufacturer’s instructions. For water-based and synthetic adhesives such as Titebond, Mod Podge, and PVA, full curing time is typically 24 hours. For hot glue such as Titebond’s premixed Genuine Hide Glue, the drying time is shorter, around 2-4 hours.
And that’s it! Once the adhesive is dry, your velvet-covered wood surface is complete. Trim away any excess fabric with a sharp knife or scissors, and delight in your beautiful new creation!
Conclusion
Attaching velvet to wood can be a great way to permanently or temporarily create or update a piece of art, decor, or furniture. Titebond, Mod Podge, and PVA are perhaps the most popular adhesives for permanent bonding.
If you are working on a temporary project or an antique, Titebond’s premixed Genuine Hide Glue is an excellent option.
No matter what glue type you choose, be sure to test it on a small inconspicuous area first to ensure that you’re happy with the result. Have fun and be creative!
We hope this guide on how to glue velvet to wood has helped you with your project. Send us your project pictures!