How to Glue Rubber to Rubber
It’s not uncommon to have a multi-purpose “super glue” that you use to fix almost anything and everything that can be fixed using glue. Whether it’s a few broken plastic toys or a kitchen appliance that has fallen apart, super glue seems to work perfectly.
The reality, however, is that such kinds of glue don’t work for every material in your house or maybe even office. One of the materials for which super glue may not provide a reliable bond is rubber, especially if you are trying to glue rubber to rubber.
Since rubber is meant to withstand a lot of abuse, a rubber adhesive has to be flexible and impact-resistant as well. At this point, you are probably asking yourself the question, “So how should I go about it then?” Well, this article has covered that and more, so keep reading.
Which Glue Is Best for Joining Rubber to Rubber?
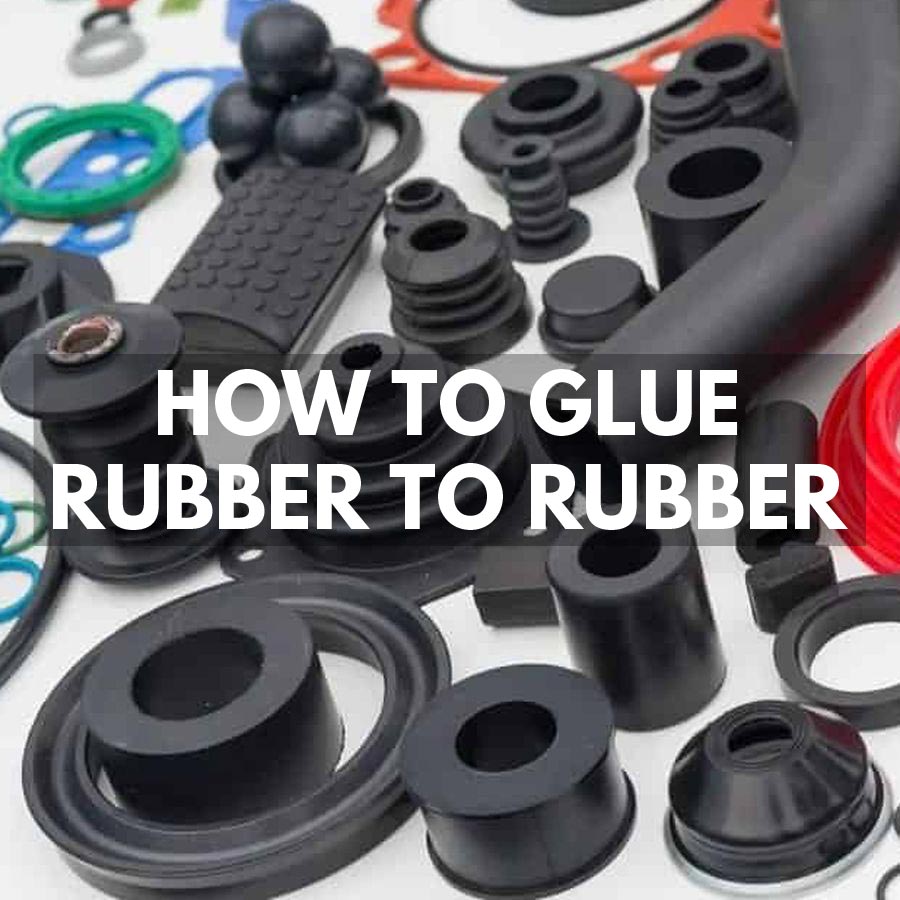
When determining the most ideal glue to use, you first have to think about the type of rubber that you are working with. There are various kinds of rubber, and each one comes in handy for a specific application. The most common rubber types are:
- Nitrile rubber: Tough and able to withstand mechanical abuse. Commonly used in cable jackets and garden hoses.
- Butyl rubber: Durable and is known to have high chemical resistance. Mainly used to make chemical gloves, some types of tires, and industrial safety equipment.
- EPDM rubber: this kind of rubber is mostly used in hoses, seals, and other items.
- Silicone rubber: Soft rubber that has high heat resistance. It’s used majorly in gaskets, o-rings, and most types of ovenware and cookware seals.
- Polyurethane rubber: This is a certain type of rubber that is used in molds and modeling
- Natural rubber: Rubber that can be modified to mimic the different kinds of synthetic rubber. Can be found in auto parts, gaskets, hoses, and many more.
There are various types of glue that can be used to join rubber to rubber. The best are:
Cyanoacrylate Glue
This kind of glue can be used for all types of rubber other than natural rubber. The good thing about this type of glue is that it cures very fast. As such, you will find out pretty fast whether it is going to work or not.
Silicone Adhesive
In the majority of situations, the best adhesive that you can use to bond specific materials is the one made of the material itself. This explains why silicone-based adhesive comes in handy when trying to join two pieces of silicone rubber. Keep in mind, however, that it takes to for silicone adhesive to cure.
Acrylic Adhesive
This type of glue is commonly used where all other types have failed. That’s why it can be used to join two pieces of natural rubber together. Keep in mind, however, that you will need an activator (sold separately) to help the glue cure faster. If you are willing to wait for up to 48 hours, however, you can use the glue without an activator.
Epoxy Glue
This is a two-component type of glue that comes in handy when joining two pieces of hard rubber. They are the best option if you want a strong and durable bond. Epoxy adhesives are made of two components that are supposed to react with each other when mixed. Once the mixture of the components, which creates an adhesive, has cured, the result is a strong and permanent bond.
How to Prepare Rubber Surfaces for Bonding
Rubber bonding is quite easy, which is why even inexperienced craftsmen can do it comfortably. It’s advisable that you always test the glue on a tiny unnoticeable area of the two materials to see whether it works. It works even better if you have extra materials that you can use for experimentation.
Preparation Process
The first step when prepping rubber for bonding is to clean the two surfaces to be joined. Dust and dirt are not the only elements that you should focus on removing. You also have to get rid of the grease and any other oil deposits, using a solvent such as isopropanol. Avoid using acetone as it can be overly harsh for certain types of rubber.
After cleaning, roughen both surfaces using sandpaper so as to get the most grip from the glue. Be sure to clean off the residue from the surfaces after sanding.
If you wish to further improve the bonding capability, use a primer (bonding agent). However, a bonding agent is not really necessary when bonding rubber with rubber.
Applying the Glue
Once both surfaces are ready, apply the glue evenly on one of the surfaces, while ensuring that the adhesive does not come into contact with your skin. The best way to ensure this is to use a spatula or brush when applying the rubber glue.
When using solvent-based rubber glue, be sure to observe the flash-off time, which is typically 10 minutes. In case of uncertainties, however, it’s always a good idea to read and follow the manufacturer’s instructions. After the flash-off time is over, bring the two surfaces together and press them to create a bond.
Setting the Glue
The setting process of rubber glue takes an average of 24 hours, with the exact time being determined by ambient temperature and humidity. If, however, you are not sure of how long exactly it should take, it’s advisable that you wait longer.
Keep in mind, however, that the elasticity of the glue is affected by the drying time. The longer you wait, the more the elasticity decreases. For this reason, you want to pay attention not to wait too long. To be safe, always follow the manufacturer’s instructions.


