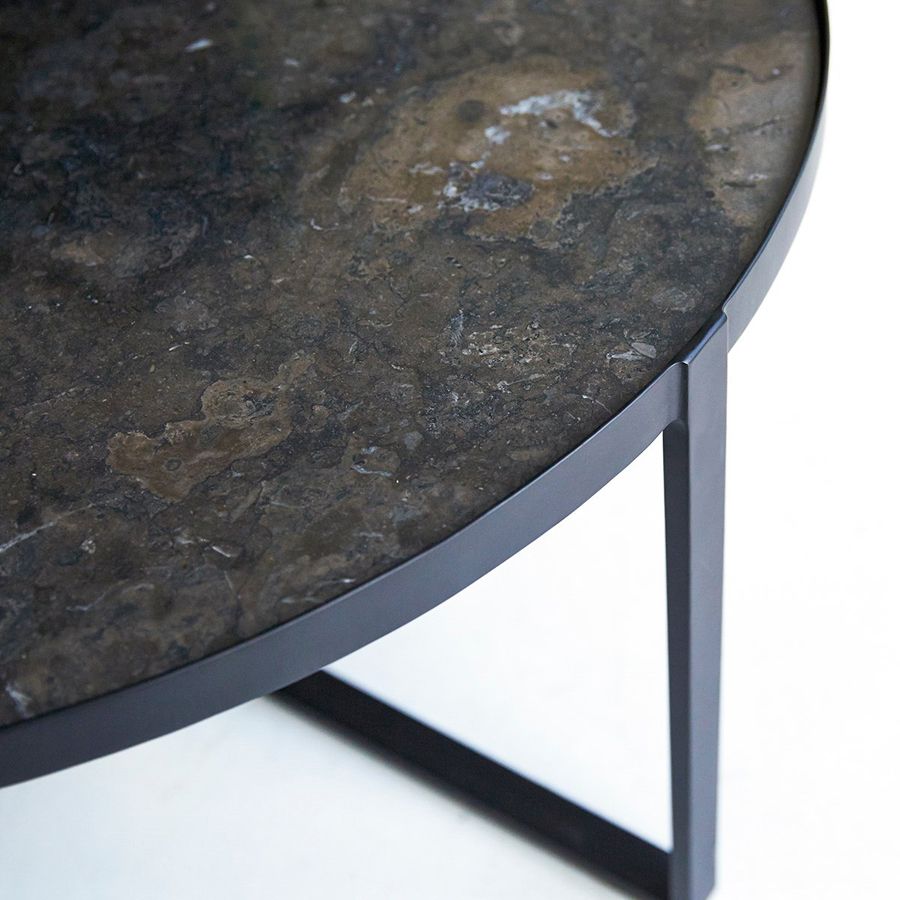
How To Glue Metal To Marble?
Sometimes ornaments snap, other times our projects demand creative solutions. But one way or another there’ll be times when we need to glue materials that are nothing alike. For example, gluing metal and marble together or gluing metal to granite.
It’s hard to think of two materials that are more different from each other, and as challenging to glue together in general. So today we’ll take a practical look at how to glue metal to marble efficiently. All so you can rest assured when you need to face this task on your own.
Which Glue Should I Use for Metal to Marble?
The main challenge when it comes to gluing this particular combination is the texture of each surface. Marble is more porous than it looks at first glance, so the glue can seep on it. Metal however is as smooth as it comes, so to get both of these materials together we’ll need some heavy-duty glue. Here is our list of the best metal glues.
Construction Glue is the perfect pick if you need the pieces to be able to withstand use. This polyurethane-based glue is up to 3 times stronger than its counterparts and remains as easy to apply. That said make sure not to go overboard with it, it expands much more than you’d expect. Usually, when dealing with construction glue you’ll be more worried about not spilling it than the resulting bond, it’s that tough.
Epoxy Glue is another great option for any metal bond, and with some expertise, the finish can be much more delicate by comparison. Epoxy Glues are comprised of both a resin and a hardener, so they aren’t as straightforward to use as most glue. But the resulting bond is tough as nails and easier to spread.
How To Stick Metal To Marble?
Preparing Your Surfaces
When discussing how to glue metal to marble there’s no doubt that the metal will be the challenging surface, so let’s begin with it. before even attempting to glue anything we need to degrease the metal, which can be easily done with acetone or alcohol. Just grab a cloth, spray some alcohol or acetone and get to wiping.
If the metal surface is loose and small enough you can submerge it instead, but this isn’t obligatory. Afterward, you simply need to dry the surface. If you have failed to glue this metal element before then you might need to perform some mechanical abrasion. Mechanical abrasion means wearing down the material, usually by sanding with sandpaper or the like. This makes the surface more porous and more receptive to glue. However, this is irreversible so keep a cool head before making a choice.
Marble is thankfully much easier to prepare for gluing. Just clean the surface thoroughly and dry it if after using alcohol or your favorite cleaning product. As we mentioned above Marble is already porous, so it’s much more suited to glue. That said before taking out the glue it’s important that you dry fit both pieces. This amounts to checking how the pieces go together and marking one or both of the surfaces based on how precise you need the bond to be.
Applying Your Glue
Once you have both surfaces ready it’s time to get to gluing, we’ll start with the construction glue for now as it’s the more straightforward of the two. Open up your bottle of glue and apply a small amount to the metal piece. Marble will have an easier time sticking so it’s better to ensure the spread on the metal surface.
Keep in mind that Construction Glue expands a lot when it’s applied, and it tends to stick everywhere. If you want a clean bond and look then you need to apply a small quantity, to begin with. We recommend you practice on two other unrelated pieces or even on paper sheets to find out for yourself how far it truly spreads. it’s much easier to prevent a spill than cleaning it when it comes to construction glue.
On the other hand, the complexity of Epoxy Glue lies in its preparation more than its application. Some Epoxy glues will be designed to apply both components simultaneously, while others will need manual mixing. Regardless of the method, it’s recommended that you spread the Epoxy smoothly across the entire surface, we want to cover the entire area, not to drown it.
Once you have managed to cover the smaller piece properly stick them together and you are done with the gluing. All in all, you should have 10 minutes tops to work with the epoxy, so once again it might be a good idea to practice somewhere else before going for your main project. All glues have their quirks and it’s better to be ready than sorry.
Setting Both Materials
Regardless of which glue you picked for your task at hand the way you approach the setting process should be more or less the same. The key to ensuring a good set is to keep the pieces in contact and isolated from any external factors, so there’s some important preparation required for this step as well. Keeping both surfaces pressed against each other is our most immediate concern and this can be challenging based on the shape of each part. Your best friend when it comes to this is a good clamp, with come creativity clamps can keep anything together while it dries.
On the other hand, it’s also important to ensure that the pieces don’t get into contact with the elements as they set, If your project was a small one you can simply leave it indoors in your garage, or even on a container with a rice bedding, provided there’s no spill to take care of. However, if you had to fix something outdoors then you’ll need to find a way to isolate it. Grab a tarp or a similar item and make sure to cover the entire surface from every angle where water could come from. It’ll be 24 hours at most, but you don’t want to see your efforts go to waste at the last minute.
Important Safety Tips
Whenever you are handling heavy-duty glues it’s important to keep gloves, goggles, a work apron, and a face mask or respirator on you at all times. Epoxy doesn’t release toxic fumes, but you should still keep your breathing pathways free of it. The rest of the products are mostly due to how sticky these glues can be. Epoxy and Construction glues should never touch your skin, and if they do then drop your project and apply acetone as needed.